全All
高画質HD
日Japanese
英English
中Chinese
独German
韓Korean
露Russian
タイThai
ラテン系Latino
アラブArab
アニメanime
mp3音楽Music
画像Images
画像Images(data)
Javascriptを有効にしてください。
HOME(realtime ranking)
MY PlayList
人気タグHot Tags
HOT DOWNLOAD
人気検索Hot Searches
人気Hot!
Hot Channels
Channel List
Spec:
HD&LONG
FHD
HD
SD
LITE/Mobile
長LONG
中MID
短SHORT
NA
AV4.us(Videos R18+)
JPG4(Images R18+)
justhd.space(HD)R18+
jtube.space動画 R18-
YouTube動画
YouKu動画
自慰党Videos R18+
2ch(Japanese BBS)
Close & Play
Loading the player...
# Use Youtube player (with Youtube AD) #
<<<>>>
# Use our player (Downlaod, Unblock & No Youtube AD) 再生できないときはここをクリック click hrer if failed to load 如无法播放请点击这里#
INFO:
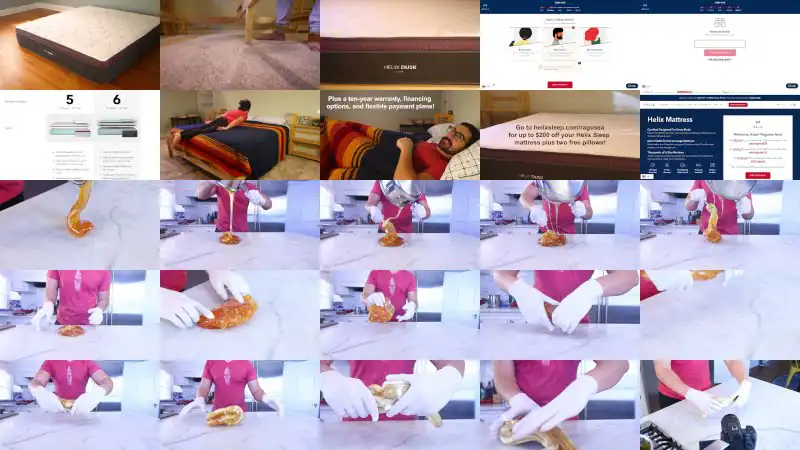
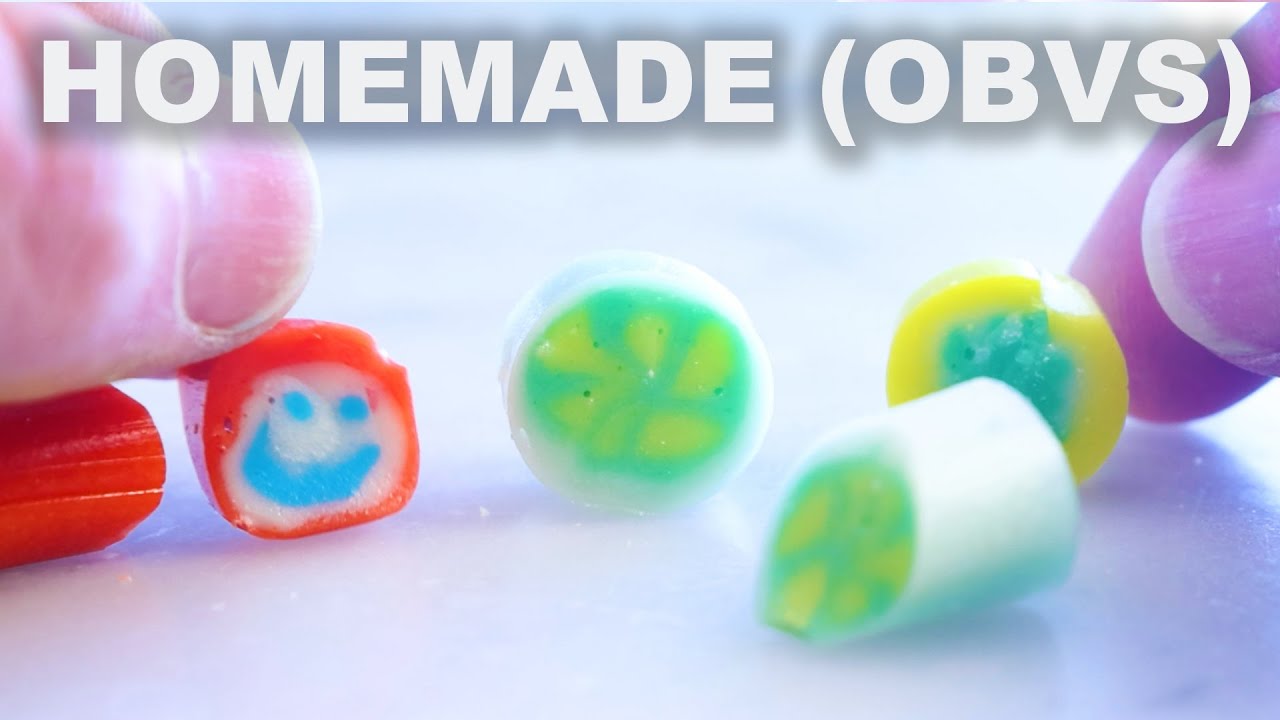
Thanks to Helix Sleep for sponsoring this video! Click here https://helixsleep.com/ragusea for up to $200 off your Helix Sleep mattress plus two free pillows! Free shipping within the US! If you're looking to buy some candy online instead of making it, I recommend Candylabs in Montreal: https://candylabs.ca/ ***RECIPE*** 1 cup (237mL) lemon/lime juice 3 cups (600g) sugar 1 cup (237mL, 312g) corn syrup (or any invert syrup) 1 cup (237mL) water gel-style food coloring Reduce the citrus juice down to a syrup in a wide pan at the lowest heat possible — the lower the heat, the better the flavor. Combine the sugar, corn syrup and water in a saucepan. Cover and bring it to a boil on high heat. Boil most of the water out, until the temperature is about 310ºF/154ºC. Be careful — syrup this hot is very dangerous if it gets on you. Take it off the heat and let the syrup cool down in the sauce pan, stirring occasionally. Eventually the syrup will start solidifying along the sides and you'll need to scrape it off and into the center where it can re-liquify. When it's barely loose enough to stir anymore, stir in the citrus syrup — again, the flavor will be better if you protect it from very high temperatures. When the syrup has cooled to the point where you won't be able to get it all out of the pot, it's probably ready to work. Pour as much of it as you can out onto a heat-safe work surface, and quickly push it around with your spoon before it sticks to the surface (it is also sure to stick if it's too hot). VERY CAREFULLY, start touching the molten candy mass with your hands, for just a second at a time before it burns you. (If it's way too hot, it'll stick to your hands and badly burn you — it's only ready to handle when it's a semi-solid mass. You can wear food-grade latex gloves so that if you get hot syrup stuck on you, you can tear them off. And/or, you can have a bowl of cold water nearby that you can plunge into if you get hot syrup stuck to you. Either way, you are going to burn yourself. This is a dangerous thing to do, and if you are not experienced working with hot things, I don't think you should do it.) Fold the candy mass around to bring the cooler exterior into the hot interior and equilibrate the temperature. I work it for a second at a time before dropping it back down on my stone counter again before it burns me. Once the whole mass cools to the point where you can start stretching, start stretching — pull the candy out into a long rope, fold it over on itself, repeat. The goal is to work air into the candy. Keep stretching until the candy is white and satiny. Use scissors to cut it up into as many different chunks as you plan to color individually for your design. To color the first lump, warm it back up to working temperature in microwave — nuke it 2-3 seconds at a time, flip it, repeat. (If you microwave it for too long, it will melt onto the floor of the microwave and you will burn yourself trying to lift it out.) You'll have to fold and stretch the candy a few times to bring the whole lump back to thermal equilibrium. Once it's at a workable texture, make a little well in the lump and pour in your gel-style food coloring. Fold and stretch the candy to work the coloring through, re-heating as necessary. Slowly assemble your design thusly. If you need more details, consult someone else — I'm terrible at this. Roll the finished candy into the thinest ropes possible and let cool before cutting. I put a storage bin in the sink, suspend the candy over the edge of the counter and cut with my knife, letting the candy fall into the bin. Once cut, keep it in an airtight container or it'll get sticky.
*
||| GENRE:
Howto & Style
|||
・
This video 「
Homemade image candy (cut rock candy) | No special equipment or ingredients needed
」@youtube
↓↓↓Often Viewed With:↓↓↓
・
240 Candy Doll Stock Video Footage - 4K and HD Video Clips | Shutterstock [0:09x336p]
・
Headshot of young African-American girl with shoulders and short rich curls looking at camera leaning on wall. Stock Footage, Royalty Free Clip, Hd Video Footage. Footage 98505683-> [0:35x240p]
・
Brazzers - Blonde MILF @MissJessaRhodes can never get more than two seconds of attention from her boring husband, who is clearly more interested in this house than her perfect big perky tits! Lucky for her, their realtor @KeiranLee has a huge cock! #ZZtrailers
・
Little child girl eat lick suck a sweet colored caramel candy stick in green garden Stock ビデオ | Adobe Stock [0:24x394p]
・
Asian threesome HD [22:16x720p]
・
Meth, Spun Out Meth Bondage - Videosection.com [0:10x360p]
・
Free Porn Videos and Movies-SpankBang: The Front Page of Porn [0:10x320p]
・
(loli) - [38:33x480p]
・
13 teen nude taboo [12:30x250p]
・
German Gal In The Sauna
・
Masked Slut Blonde Suck Lovely Dog - Bangyoulater.net [14:17x720p]
・
nude junior pageant [8:00x250p]
・
German Sauna Nude 6 HD | Favoyeurtube
・
Sweet girl in miniskirt and fishnet stockings takes a Huge Horse Dildo. Creampie overflow loads from youngvideomodels nude 3 Watch XXX Video - HiFiPorn.fun [12:35x1080p]
・
IMBD [0:15x360p]
・
Omegle 2 girls flashing, stickam videos [1:30x240p]
・
13 teen nude taboo [12:50x250p]
・
Meth SMoking Mom fucking son.mp4 [0:46x432p]
・
young wife tries anal with older BBC, can’t take it | BlacktoWhite - Amateur Interracial Community - Cuckold Sex Forum [3:22x750p]
・
Turkish teen 18+ Sucks, Rubs and Strokes Porn Video
・
ブルマ盗撮 - ThisAV.com - 世界第一中文成人娛樂網站 [5:13x360p]
・
MissAV.com | 免費高清AV在線看 [29:38x436p]
・
Sleeping cum mouth tante - SEXTVX.COM
・
いやいや援交 - ThisAV.com - 世界第一中文成人娛樂網站 [5:57x638p]
・
Sweet girl in miniskirt and fishnet stockings takes a Huge Horse Dildo. Creampie overflow loads from youngvideomodels nude 3 Watch XXX Video - HiFiPorn.fun [11:40x360p]
・
Sister asks brother to check if her boobs got bigger - XVIDEOS ...
・
いやいや援交 - ThisAV.com - 世界第一中文成人娛樂網站 [5:57x640p]
・
Star session secret stars ssv lilu julia aleksandra - watch videos online [11:06x480p]
・
Anal daughter [1:15x432p]
・
《亚洲精品中文字幕久久久久久【核弹泄密】y女姐妹花事件!禽兽邻居调教无知小姐妹!》-国产自拍-91porn国产 [20:32x720p]
・
hard to call myself a boy when i... - Twitterの動画をダウンロード [0:35x640p]
・
omegle [34:50x432p]
・
PUBLIC SWINGER - Old naked Man in forest fucks skinny teen from liinaliiis naked Watch HD Porn Video - PornMaster.fun
・
nippybox j mp4 to mp3 | Discover [1:12x720p]
・
エロライブチャット こんなカワイイ彼女はお目にかかれません - MissAV.com | 免費高清AV在線看 [34:13x480p]
・
Struggling to take Big Anal Knot
・
tomix | Sex.com
・
Nippydrive Yolobit Soo Ajb Mp4 8 Search | Nippy Box [3:08x360p]
・
映画『Gritta vom Rattenschloß』から..
20240406215411-32
Related Tags:
Staged child porn
ty-pajent-.htm
VALENSIYA
ted
censored
ta
aa
red
fv
CFNM
XSZAV
pe
ex
rian
nCP
lolitas
happymodels
Anonfiles
ly
ompilation
dropbox
zoosex
bate
child
novinha
nude
candydoll
Teenfuns
> CONTACT & ABUSE <